
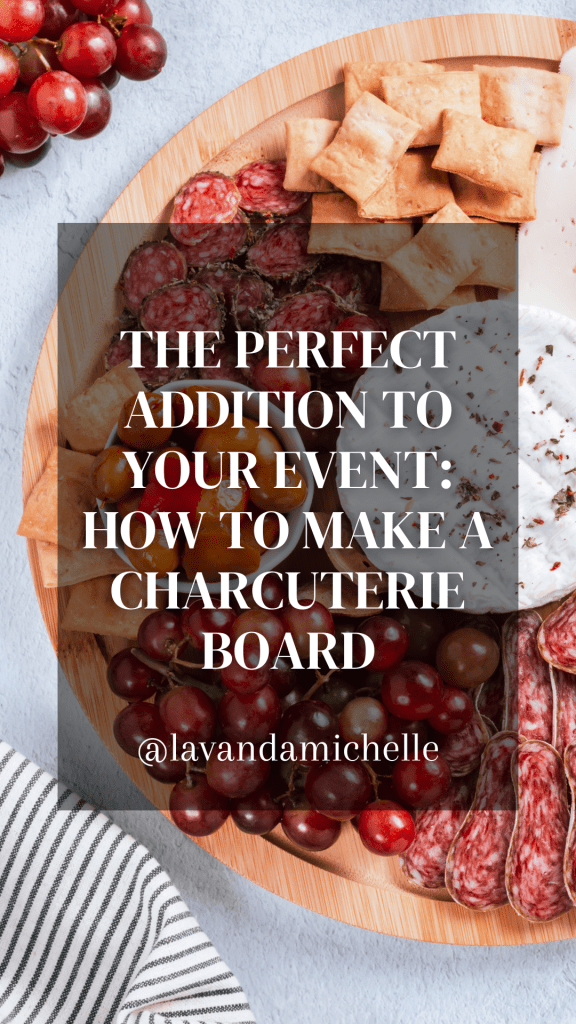
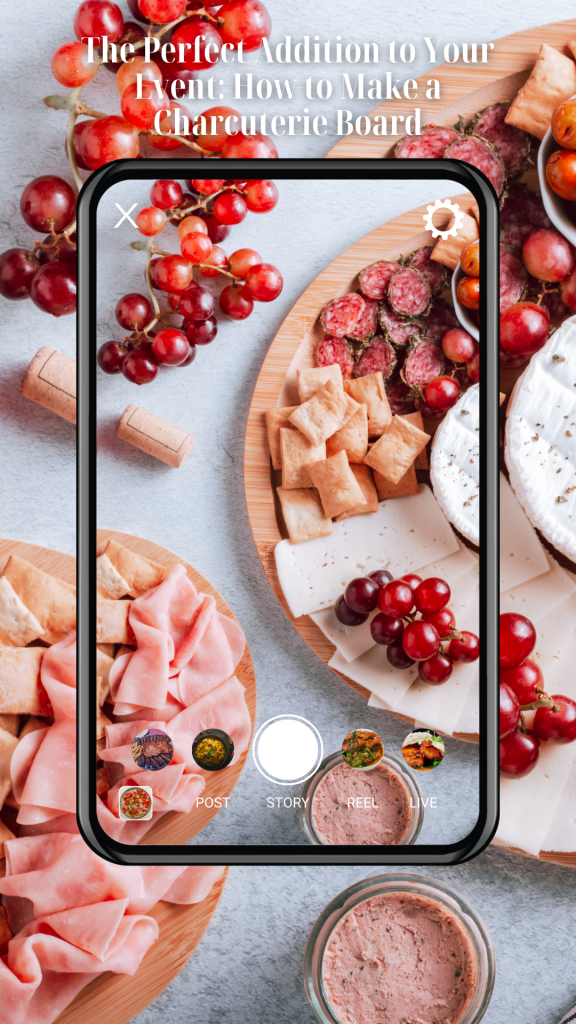
As an event planner, I absolutely love finding new and creative ways to delight my clients and their guests, and one of my favorite tricks is the charcuterie board! Whether I’m planning a chic wedding or a lively corporate gathering, a beautiful charcuterie board is always a hit. Not only is it visually impressive, but it’s also a fun and easy way to offer a wide range of delicious flavors and textures that everyone can enjoy.
So, if you’re looking for a crowd-pleasing addition to your next event, look no further than the charcuterie board! In this post, I’ll share my tips and tricks for creating the perfect charcuterie board that will have your guests raving for weeks to come.
As an event planner, I know that great food is key to a successful event. And when it comes to casual yet impressive options, a charcuterie board is always a hit. Not only is it visually stunning, but it’s also a great way to offer a variety of flavors and textures for your guests to enjoy. So, let’s get started on making the perfect charcuterie board!
Choose Your Board:
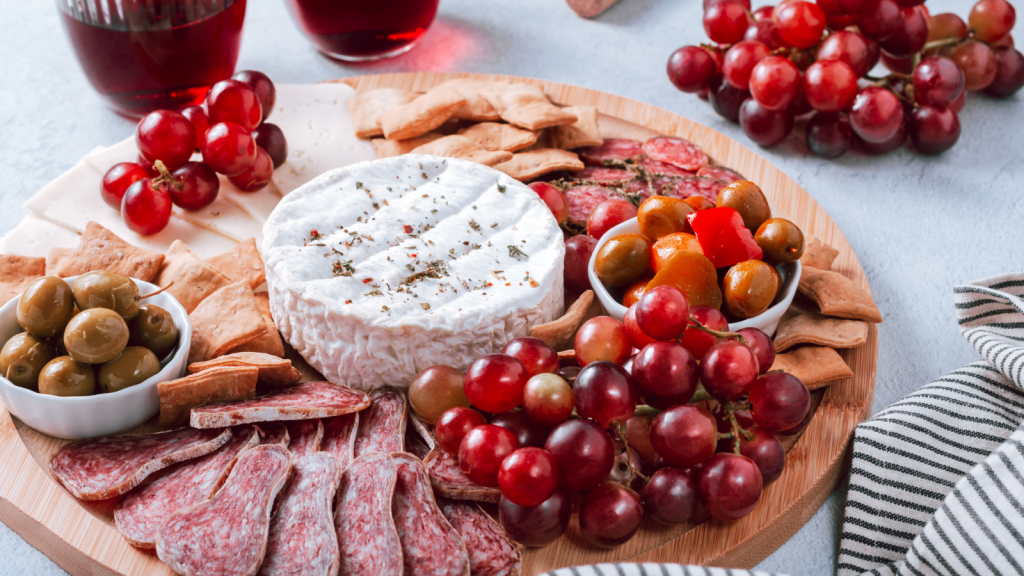
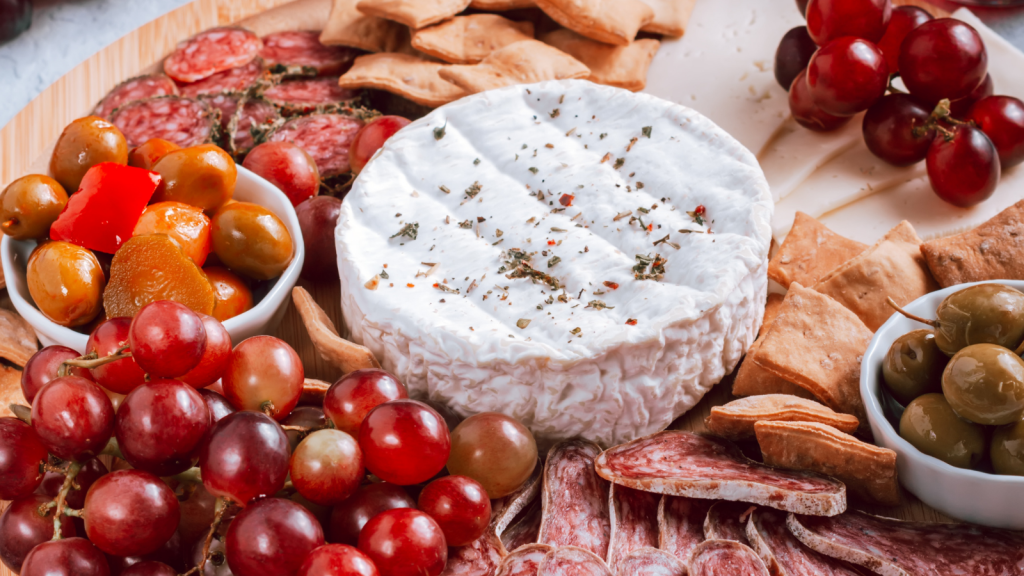
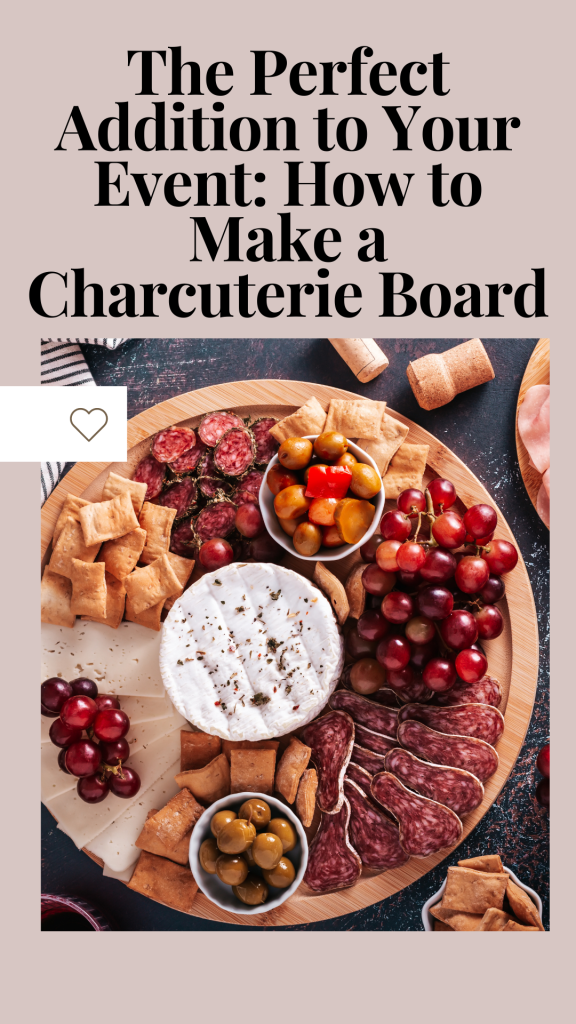
I personally love using a wooden board, but slate or marble work just as well. Make sure it’s big enough to hold all your ingredients and leave room for your guests to graze.
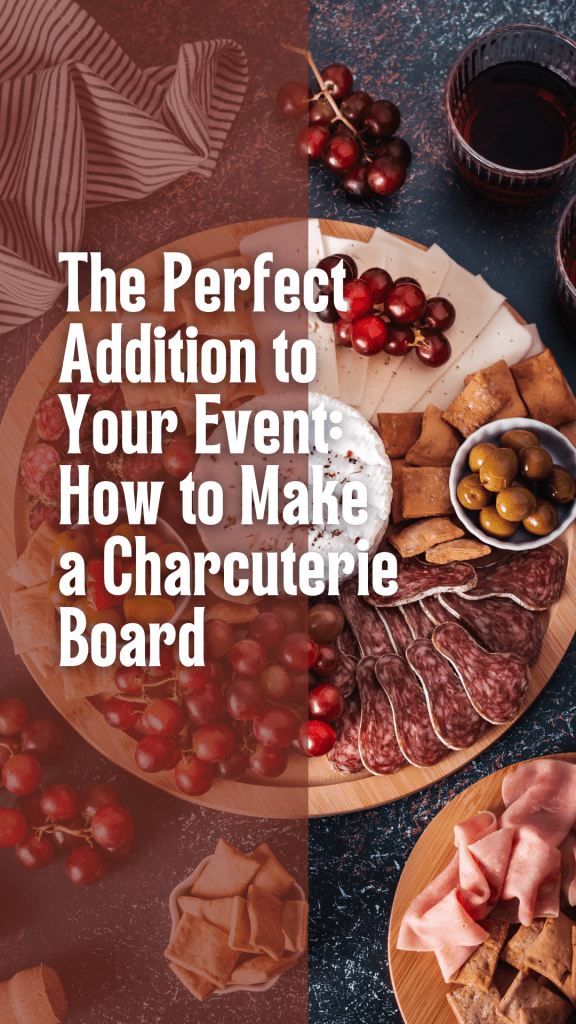
Select Your Meats:
Cured meats are the stars of the show, so select a variety of options like prosciutto, salami, and chorizo. And don’t forget about the vegetarians in the crowd – include marinated artichokes or roasted peppers.
Pick Your Cheeses:
Cheese is an essential component of any charcuterie board. Choose a variety of types such as hard, soft, and blue cheeses. Some popular options include brie, cheddar, and gouda. Don’t forget to also include a cheese knife for each type of cheese.
Add Some Extras:
To really impress your guests, add some extras like nuts, fresh fruit, and crackers or bread. This will provide a variety of textures and flavors for your guests to enjoy.
Arrange Your Board:
Start with the cheeses and place them in the corners of the board. Then add the meats, folding them to create different shapes and textures. Finally, fill in the empty spaces with your extras like nuts and fruit.
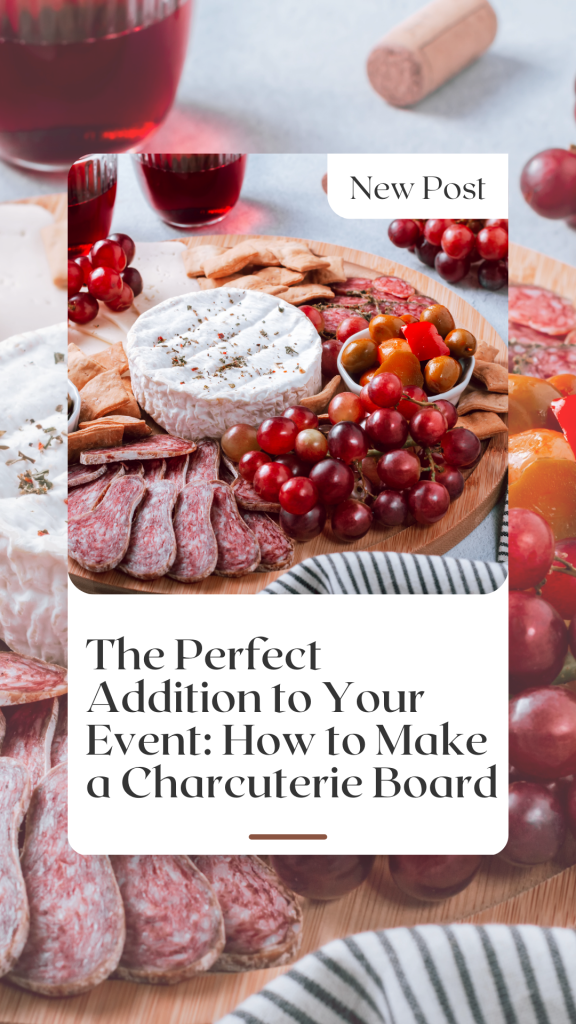
And there you have it, a beautiful and delicious charcuterie board that will wow your guests!
Now that you know the basics of how to make a charcuterie board, you can add this delicious and visually stunning addition to your events. Your guests will love the variety of flavors and textures, and it’s a great way to add a touch of sophistication to any gathering. So go ahead, get creative, and wow your guests with a beautiful and delicious charcuterie board.

What are your thoughts about the The Perfect Addition to Your Event: How to Make a Charcuterie Board. Please share in the comments below. I really would love to know.
Until next time, shine amongst the stars!
‘This post may contain affiliate links

If you haven’t made enough money blogging, look into taking the
Complete Guide to Make Money Blogging for only
($10… WOW 95% Off for a limited time).


If you haven’t made enough money blogging, look into taking the
Complete Guide to Make Money Blogging for only
($10, … WOW 95% Off for a limited time).


I have still never put on together. I think they are wonderful for parties though.
Wow! You’ve turned something complicated into a few simple steps! I love this post!
I still haven’t tried putting together a charcuterie board. It is nice to have a step by step guide for how to construct one!
I love making charcuterie boards, and they really are the perfect addition to any event. I love how customizable the theme can be and how the board gives you a fixed space to work with!
What a great idea – simple but classy. Would make any gathering that bit special. I have the perfect board!